
How To Sharpen Pruning Shears: 4 Best Steps for Clean Cuts
How to sharpen pruning shears starts with cleaning the blade, matching the existing bevel, filing in one direction, and removing the burr before oiling and testing the tool. For apple-tree pruning, a sharp bypass pruner gives cleaner cuts and requires less force than a neglected, dull edge.
Table of Contents
Key Takeaways
- To learn how to sharpen pruning shears correctly, follow the factory bevel instead of grinding a new angle into the blade.
- Bypass pruners usually have one beveled cutting blade, while anvil-style tools may use a double-beveled blade.
- Clean sap and rust before sharpening, then lightly oil the blade and pivot after the edge is restored.
Knowing how to sharpen pruning shears is a small maintenance skill that can make apple-tree pruning noticeably easier. A dull hand pruner tends to need more squeezing force, and that can leave rougher cuts when the tool is also dirty, loose, or being asked to cut a branch that is too large.
For anyone learning how to sharpen pruning shears, University of Maryland Extension recommends keeping pruning tools sharp and lists a file, diamond sharpener, or whetstone as suitable options. University of Minnesota Extension also advises following the blade’s existing bevel, using one-direction sharpening strokes, and cleaning and lubricating the tool as part of routine care.
What You Need Before You Sharpen Pruning Shears
When you learn how to sharpen pruning shears, you do not need a bench grinder or a complicated sharpening system for routine maintenance. For most hand pruners, a compact diamond file, sharpening block, or whetstone is enough, along with a stiff brush or rag, mild soap, a small amount of lubricating oil, and basic hand protection.
| Sharpening tool | Best use | What to watch for |
|---|---|---|
| Diamond file | Fast touch-ups and curved bypass blades | Keep it flat on the existing bevel and avoid rocking the file |
| Whetstone | Controlled sharpening on a blade you can reach easily | Use the stone as directed and keep the blade angle consistent |
| Sharpening block | Simple seasonal maintenance for hand pruners and loppers | Choose a shape that can follow the curve of the cutting edge |
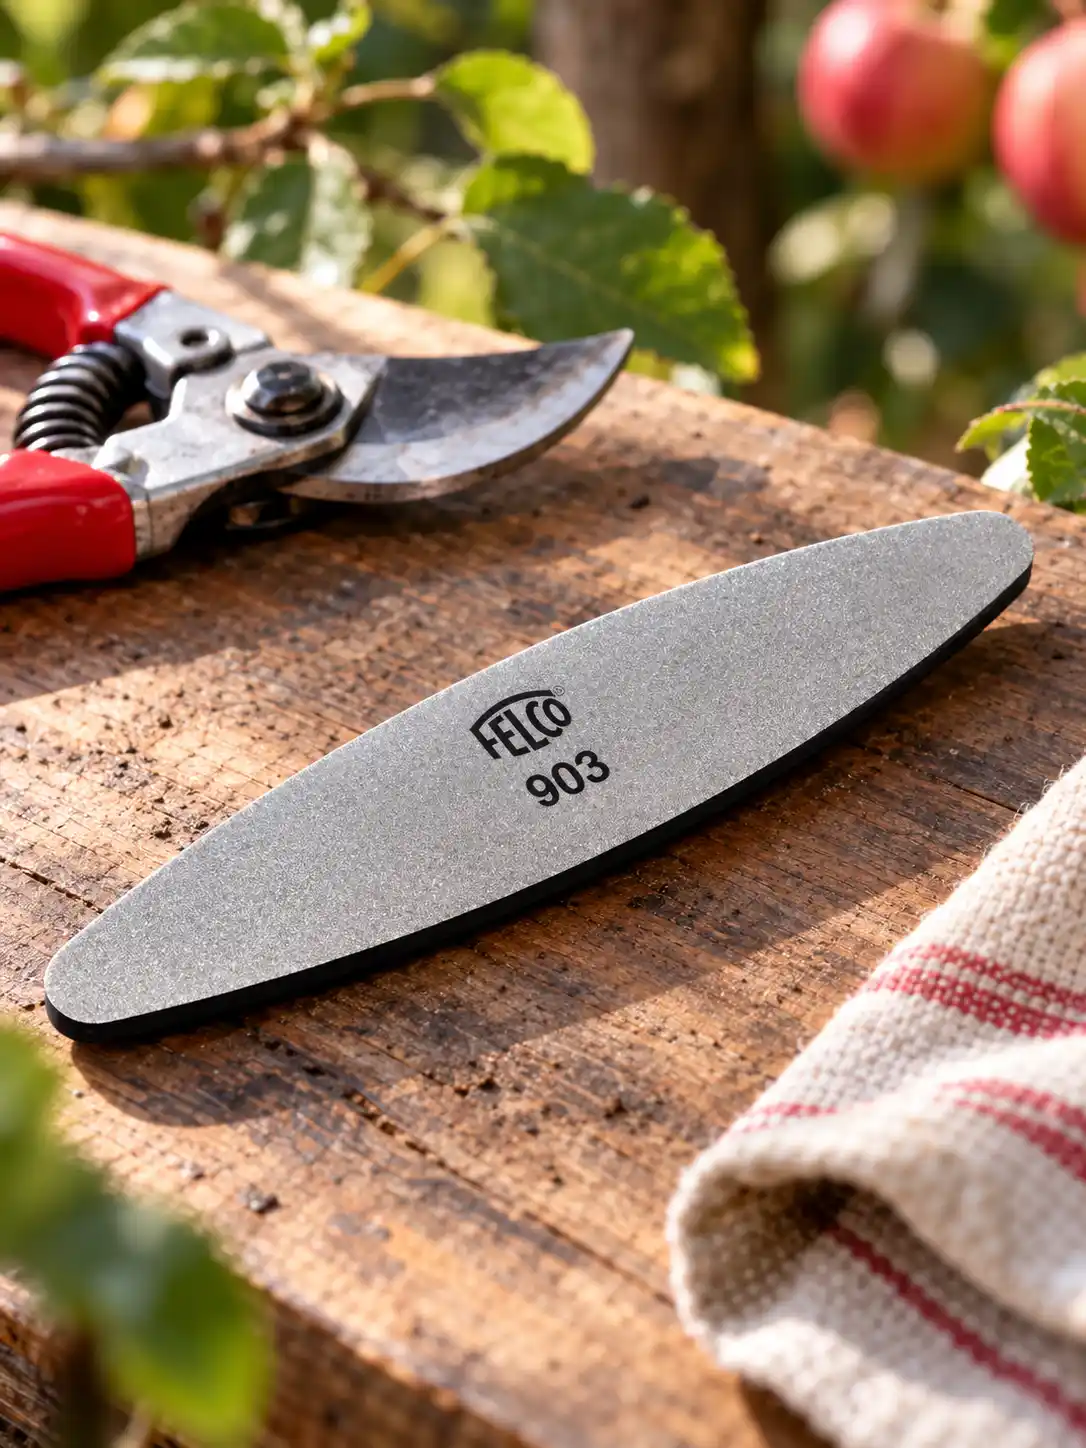
Best Overall Sharpener
FELCO 903 Diamond Sharpener
A compact diamond-coated sharpener designed for pruning shears, loppers, and similar cutting tools. Its narrow profile makes it a practical fit for restoring the existing bevel on hand pruner blades without using a bulky sharpening system.
- Diamond-coated sharpening surface
- Designed for pruning shears and loppers
- Useful for sharpening, deburring, and honing
Best for: Apple growers who want one compact sharpening tool for routine pruning-shear maintenance and controlled touch-ups.
View on AmazonPrice, rating, and availability may change.
Affiliate disclosure: Apple Tree Guide may earn a commission from qualifying purchases made through this link, at no additional cost to you. Product selection is based on editorial research, not advertiser influence.
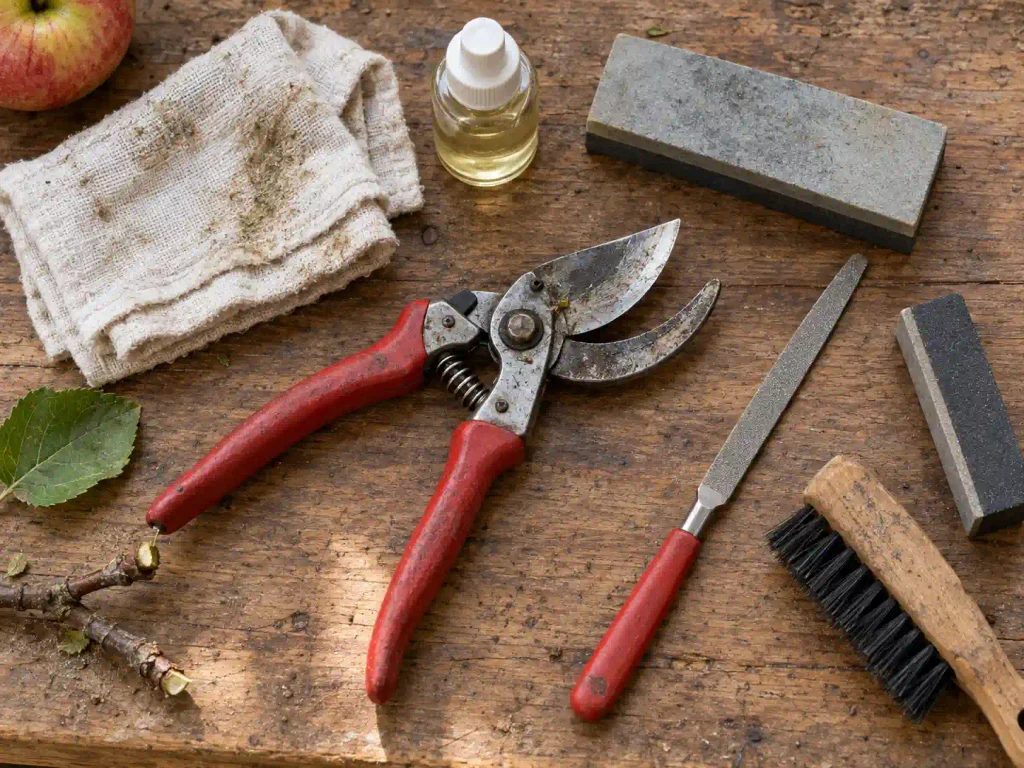
If your pruner is designed to come apart, disassembly can make how to sharpen pruning shears easier to manage because you can reach the blade and pivot. If it does not come apart readily, do not force it. Open the tool fully, stabilize it on a bench, and work only where you can control the file safely.
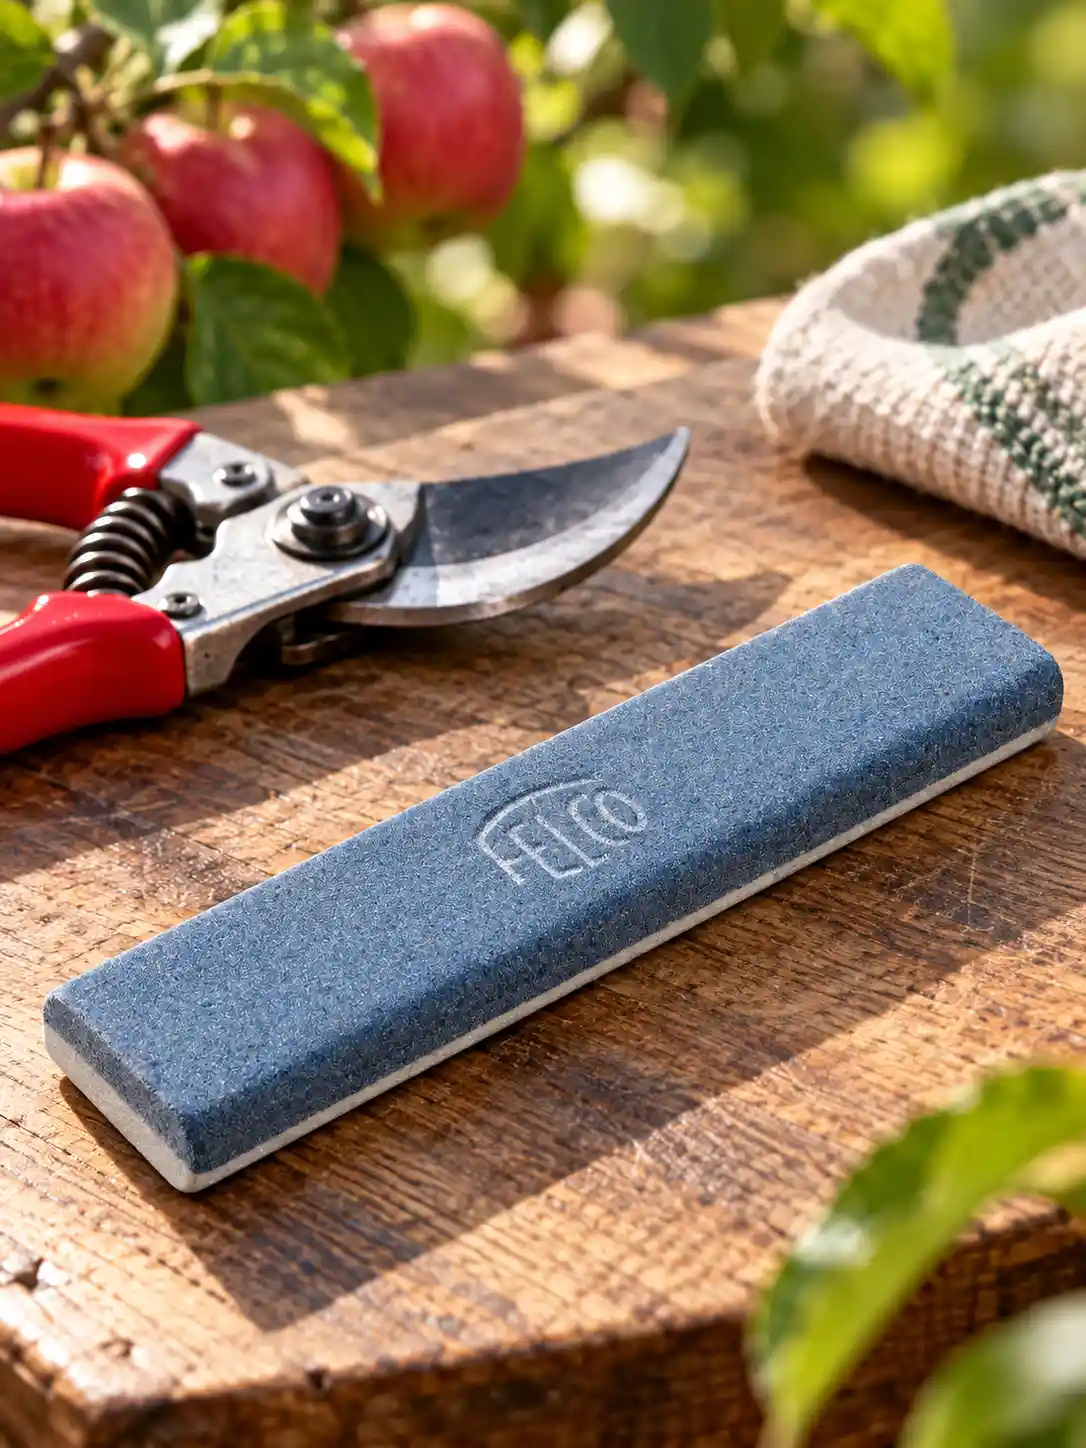
Sharpening Stone Alternative
FELCO 902 Sharpening Stone
A compact sharpening stone made for maintaining pruning shears and similar cutting tools. Its dual-grit design gives you a more traditional stone-based option for restoring and refining the existing blade bevel.
- Dual-grit corundum sharpening stone
- Designed for pruning shears and similar cutting tools
- Compact size for controlled hand sharpening
Best for: Apple growers who prefer a traditional sharpening stone instead of a diamond file for routine pruning-shear maintenance.
View on AmazonPrice, rating, and availability may change.
Affiliate disclosure: Apple Tree Guide may earn a commission from qualifying purchases made through this link, at no additional cost to you. Product selection is based on editorial research, not advertiser influence.
How to Sharpen Pruning Shears in 4 Steps
Step 1: Clean the blade and inspect the tool
Before you sharpen anything, remove dried sap, plant residue, and surface rust. That cleaning step is part of how to sharpen pruning shears without grinding grime into the edge. Soap and water can handle routine grime, while fine steel wool can help with light rust. Dry the tool completely before moving on.
Also check the pivot bolt, spring, blade, and counter-blade. If the blade is cracked, badly chipped, bent, or so corroded that the cutting edge is pitted, sharpening may not restore safe, clean operation. A replaceable blade can be a better fix than removing a large amount of metal.
Step 2: Find the existing bevel
The most important part of how to sharpen pruning shears is identifying which surface was designed to be sharpened. On a bypass pruner, the cutting blade is typically single beveled. The opposite blade is mainly a supporting surface and should not be reshaped into a second bevel.
For how to sharpen pruning shears without changing the blade geometry, University of Minnesota Extension advises following the natural bevel, generally about 10 to 20 degrees, rather than creating a new angle. Hold your file or stone flat against that sloping face until it sits evenly from heel to edge.
Step 3: Sharpen in one direction
To sharpen pruning shears safely and consistently, keep the pruner stable with the edge facing away from your hand, then push the file along the bevel in one direction. Follow the blade’s curve from the base toward the tip, lift the file, then reset it for the next stroke. Avoid scrubbing back and forth, which can make the edge less consistent.
Use moderate pressure and inspect the edge often. The goal is not to remove as much steel as possible. You are trying to restore the original cutting geometry and create a small, even burr along the opposite side of the sharpened edge.
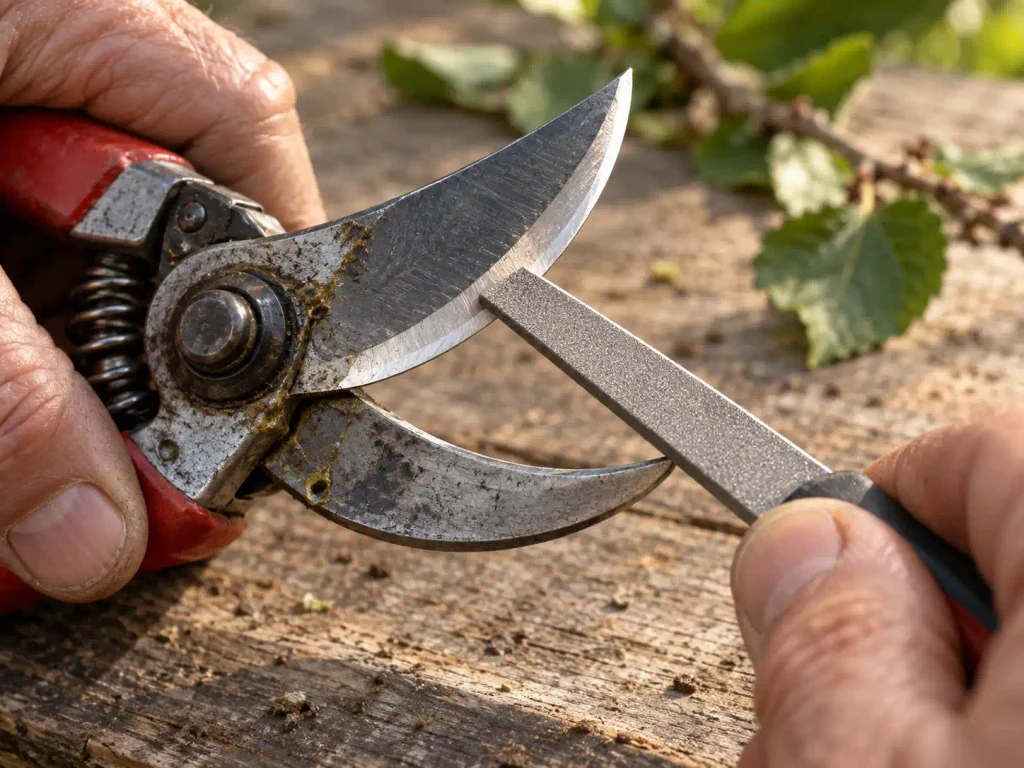
Step 4: Remove the burr, oil the pivot, and test
After you complete the filing part of how to sharpen pruning shears, remove the burr with one or two very light passes on the flat side. Keep the file nearly flat so you do not create a second bevel on a bypass blade. Wipe away metal filings before oiling the tool.
Add a light coating of oil to the blade and a drop at the pivot, then open and close the pruner several times. Test it on a small, appropriate piece of green wood. A properly maintained bypass pruner should cut without excessive force, crushing, or tearing.
Best for Post-Sharpening Maintenance
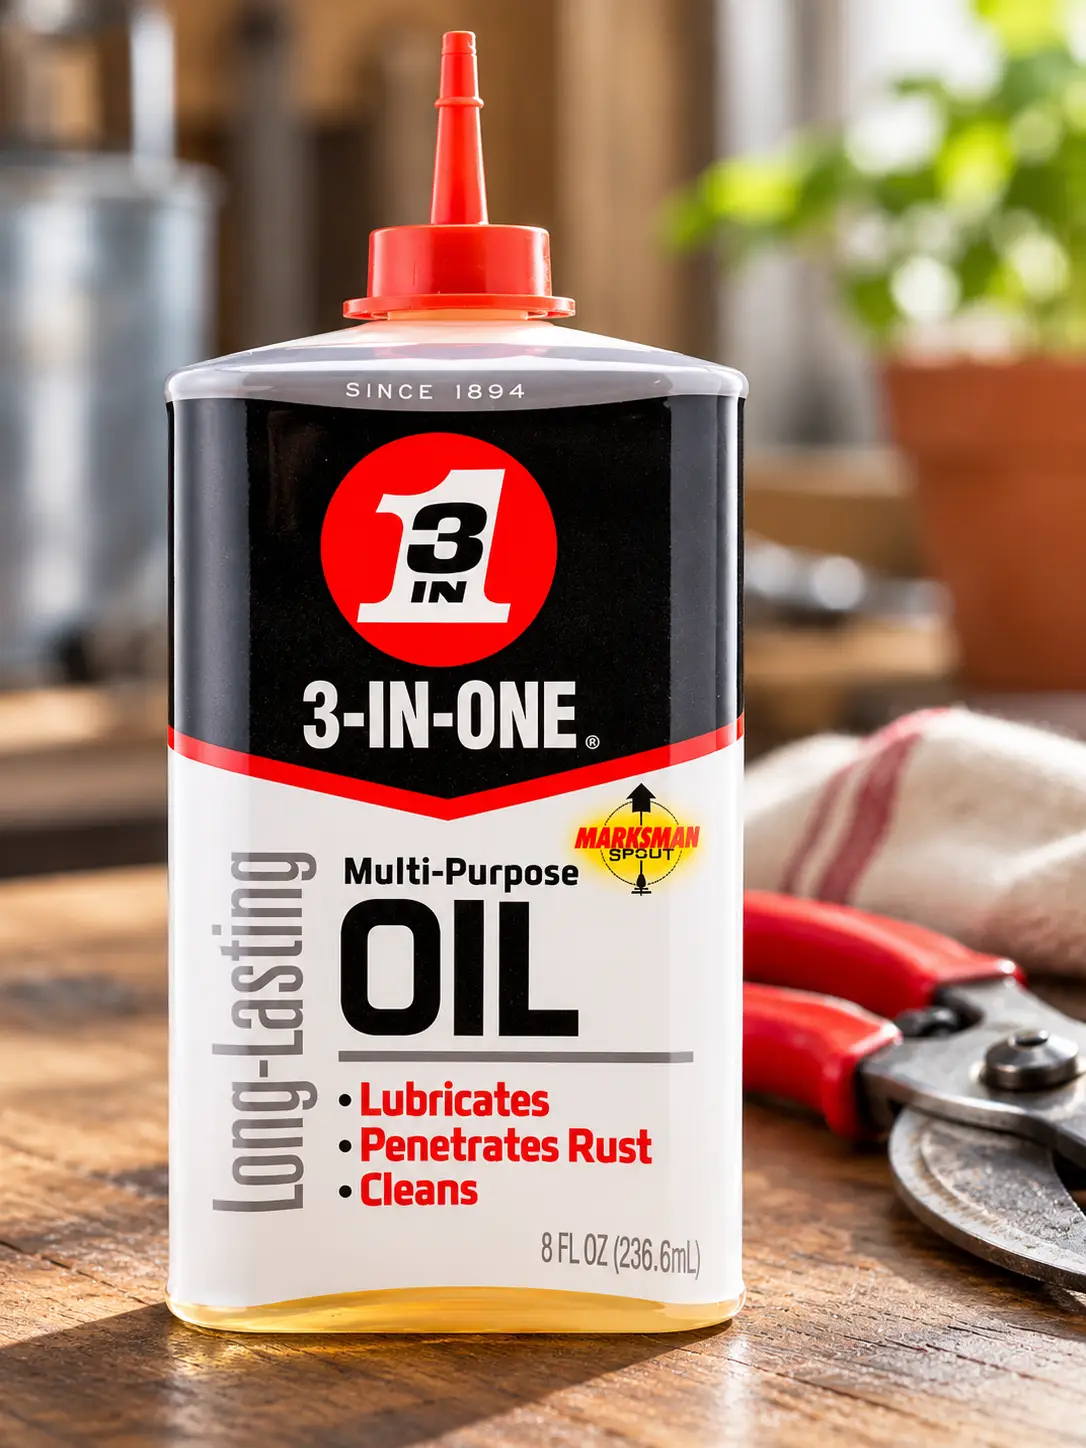
3-IN-ONE Multi-Purpose Oil
A general-purpose lubricating oil that works well for the final maintenance step after sharpening pruning shears. The drip spout makes it easy to place a small amount on the pivot and blade without spraying the entire tool.
- Lubricates moving parts and pivot points
- Helps protect metal tools from corrosion
- Precision drip spout for controlled application
Best for: Apple growers who want a simple oil for lubricating the pruner pivot and leaving a light protective coating after cleaning and sharpening.
View on AmazonPrice, rating, and availability may change.
Affiliate disclosure: Apple Tree Guide may earn a commission from qualifying purchases made through this link, at no additional cost to you. Product selection is based on editorial research, not advertiser influence.
Bypass vs. Anvil Pruners: Sharpen the Right Surface
A bypass pruner works with a scissor-like action. University of Maryland Extension notes that bypass pruners reduce tearing and crushing compared with anvil pruners, which is one reason they are commonly preferred for live growth. When learning how to sharpen pruning shears for apple trees, first confirm which design you own. The right method for how to sharpen pruning shears depends on whether the cutting edge is single beveled or double beveled.
| Pruner type | Blade design | Sharpening approach | Typical orchard use |
|---|---|---|---|
| Bypass | One sharpened blade passes a broader counter-blade | Sharpen the existing bevel on the cutting blade; lightly remove the burr from the flat face | Live twigs and small branches within the tool’s rated capacity |
| Anvil | Cutting blade closes onto a flat anvil | Follow the bevels already present on the cutting blade; do not reshape the anvil | Often used on dry or dead material, depending on the tool |
Do not use hand pruners as a substitute for a larger tool. University of Maryland Extension lists hand pruners for branches up to about one inch in diameter, while the exact capacity varies by model. If the branch is too thick, switch to loppers for apple trees or a pruning saw for apple trees instead of forcing the handles.
How to Clean and Disinfect Pruning Shears
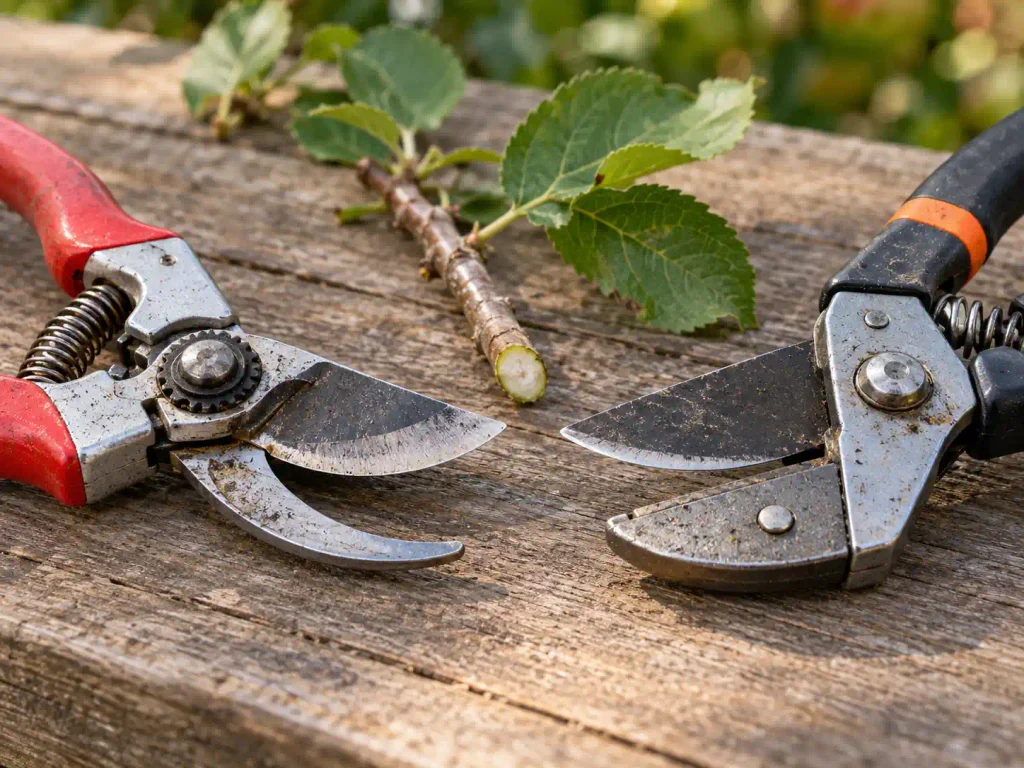
Routine cleaning and disease sanitation are part of how to sharpen pruning shears responsibly, but they are not the same job. Cleaning removes sap, soil, and plant debris. Disinfection is most important when a tool has contacted diseased plant tissue, and you may carry pathogens to another cut or another tree.
University of Minnesota Extension recommends removing visible debris before disinfecting because dirt can interfere with the process. For hand pruners, 70 percent or stronger isopropyl alcohol is one option. Bleach can corrode metal, so UMN does not recommend it for sharp cutting tools even though diluted bleach is used for other garden equipment.
Extension consensus: Keep pruning tools clean and sharp, follow the blade’s existing bevel, disinfect tools when disease spread is a concern, and lubricate metal parts after cleaning and sharpening.
Fire blight deserves extra caution. UMN notes that alcohol might not effectively disinfect pruning tools used on fire-blight-infected apple trees. If you are cutting suspected disease, follow current local extension guidance for that disease rather than assuming one disinfectant works in every situation.
When Should You Sharpen Pruning Shears?
Once you know how to sharpen pruning shears, the next question is how often to repeat it. There is no useful calendar rule that fits every gardener. Sharpening frequency depends on how much you prune, the blade material, whether you cut abrasive or dirty material, and how well the tool is cleaned and stored. Instead, watch the cut quality and how much hand pressure the tool needs.
If the pruner starts crushing small green shoots, sliding off the branch, or requiring noticeably more force, inspect it. Sometimes the real problem is dried sap, a loose pivot, or a branch that exceeds the tool’s capacity. Clean and adjust the tool before assuming the blade needs aggressive sharpening.
Quick signs it is time to sharpen
- The blade leaves ragged fibers instead of a clean cut.
- You need more hand pressure than usual on branches the tool used to cut easily.
- The cutting edge reflects light in small flat spots, a common sign that the edge has rounded.
- The blade has a light burr or minor nick that can be corrected without major metal removal.
Common Mistakes When Sharpening Pruning Shears
Most damage in how to sharpen pruning shears happens when sharpening turns into reshaping. If you preserve the original geometry, you remove less metal and keep the tool working as designed. The following mistakes are worth avoiding.
- Sharpening both sides of a bypass blade: This can alter the shearing relationship between the cutting blade and counter-blade.
- Changing the bevel angle: Follow the factory bevel instead of trying to make the edge thinner or steeper.
- Filing back and forth: UMN recommends one-direction strokes.
- Sharpening through sap or rust: Clean first so the file contacts steel evenly.
- Using the wrong tool for the branch: Forcing hand pruners through oversized wood can dull or damage them.
- Skipping oil after cleaning: A light protective film helps reduce rust, especially on carbon-steel blades.
Using Sharp Pruners on Young and Mature Apple Trees
On a young apple tree, hand pruners are often used for small training cuts, removing competing shoots, or shortening selected growth. For cut placement and tree structure, see our guide on how to prune apple trees and the broader apple tree pruning guide.
Mature trees often include a wider range of branch diameters. Hand pruners still handle small twigs and shoots, but larger limbs call for loppers or a pruning saw. Our apple tree pruning tools guide explains how to match the tool to the branch before you start cutting.
If you are deciding between hand pruners and longer-handled cutters, compare pruning shears vs. loppers. Choosing the right tool protects both the blade edge and the tree because you are less likely to twist, crush, or tear a branch while forcing an undersized cutter.
FAQs
Can you sharpen pruning shears with a file?
Yes. University of Maryland Extension lists a file, diamond sharpener, and whetstone as options for keeping pruning edges sharp. The important part is to keep the file on the existing bevel and work in controlled strokes.
What angle should I use when learning how to sharpen pruning shears?
Match the angle already ground into the blade. University of Minnesota Extension gives a natural bevel range of about 10 to 20 degrees for hand shears and loppers. Following the factory bevel is more important than trying to hit one exact number.
Do you sharpen both sides of pruning shears?
It depends on the blade design. Bypass pruners are typically single beveled, so sharpen the beveled cutting face and only remove the burr from the flat side. UMN describes anvil blades as double-beveled, so both existing bevels may need attention.
Can I sharpen pruning shears without taking them apart?
Yes, if you can fully open and stabilize the tool while safely reaching the bevel. Disassembly can make maintenance easier when the manufacturer designed the pruner to come apart, but forcing apart a non-serviceable tool can cause damage.
How do I know whether sharpening worked?
After you finish sharpening pruning shears, oil and reassemble the tool, then test it on a small branch that is within the pruner’s capacity. The cut should require reasonable pressure and leave a clean surface without obvious crushing or torn fibers.
Related Articles
- Best pruning shears for apple trees
- Best loppers for apple trees
- Best pruning saw for apple trees
- Pruning shears vs loppers
- Apple tree pruning tools
- When to prune apple trees
Sources
- University of Minnesota Extension: Caring for winter pruning tools
- University of Maryland Extension: Pruning Tools
- University of Minnesota Extension: Clean and disinfect gardening tools and containers
- University of Minnesota Extension: Pruning and training apple trees
Disclaimer: This article provides general pruning guidance based on university extension research. Pruning requirements vary by variety, rootstock, tree age, and regional climate. When in doubt, consult a certified arborist or your local cooperative extension service.