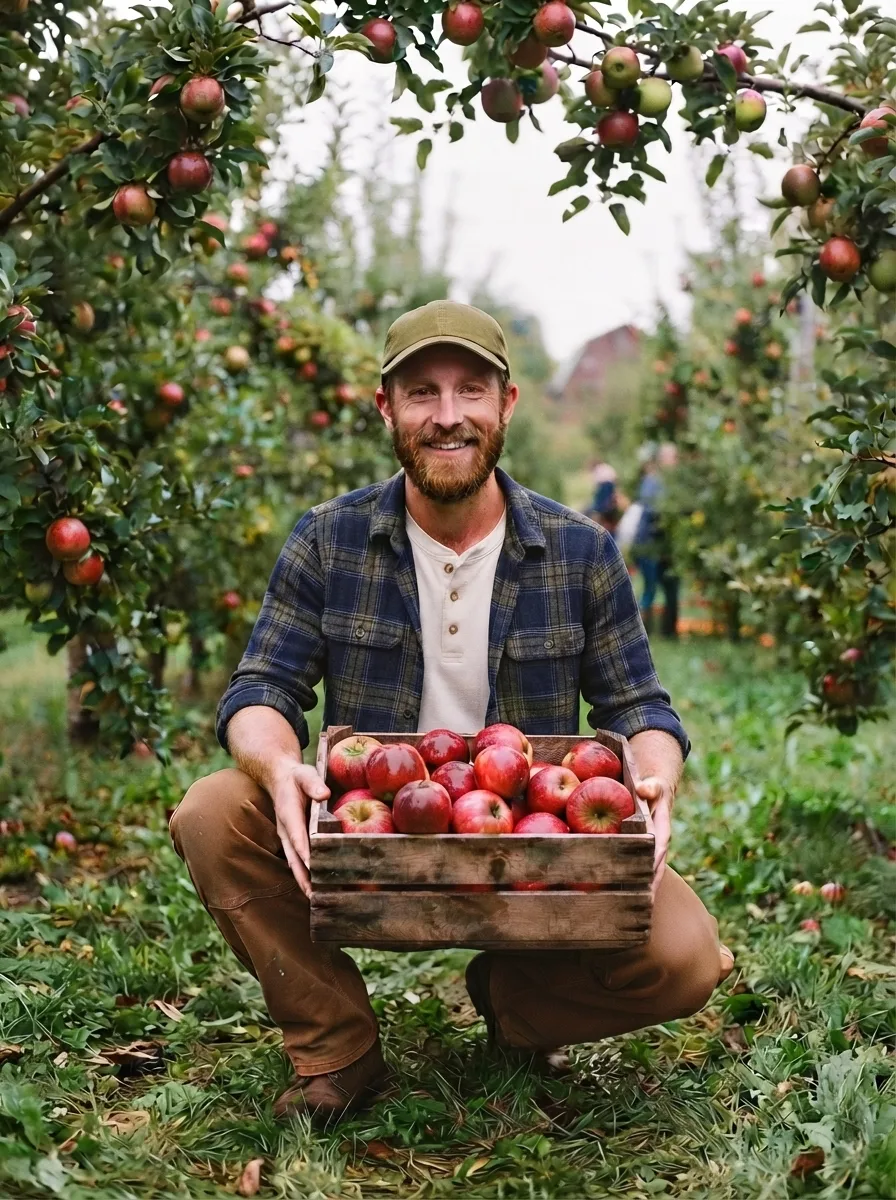
How To Prune Apple Trees: 7 Proven Steps for Beginners
Knowing how to prune apple trees is one of the most important skills a backyard orchardist can develop. Annual pruning controls tree size, improves airflow, reduces disease pressure, and dramatically increases fruit quality. This guide covers the right timing, the correct cuts, and the 7 steps that university extension research confirms will work for beginners and experienced growers alike.
Table of Contents
Key Takeaways
- The best time to prune apple trees is late winter or early spring, after the coldest weather has passed and before new growth begins.
- Never remove more than one-third of the tree in a single season to avoid stress and excessive water sprout production.
- Thinning cuts — removing entire branches at the collar — are the standard recommended approach for most pruning situations.
Why Learning How To Prune Apple Trees Matters
Regular pruning is not optional if you want fruit. An unpruned apple tree quickly becomes congested, with branches blocking sunlight from reaching interior fruiting wood. As a result, fruit production drops, disease pressure increases, and harvesting becomes difficult.
According to the University of Minnesota Extension, apple trees pruned on a regular basis produce better fruit and are easier to care for than unpruned trees. Additionally, open canopy structure improves spray coverage, which directly affects your ability to manage common apple diseases and pests.
What Happens When You Skip Annual Pruning
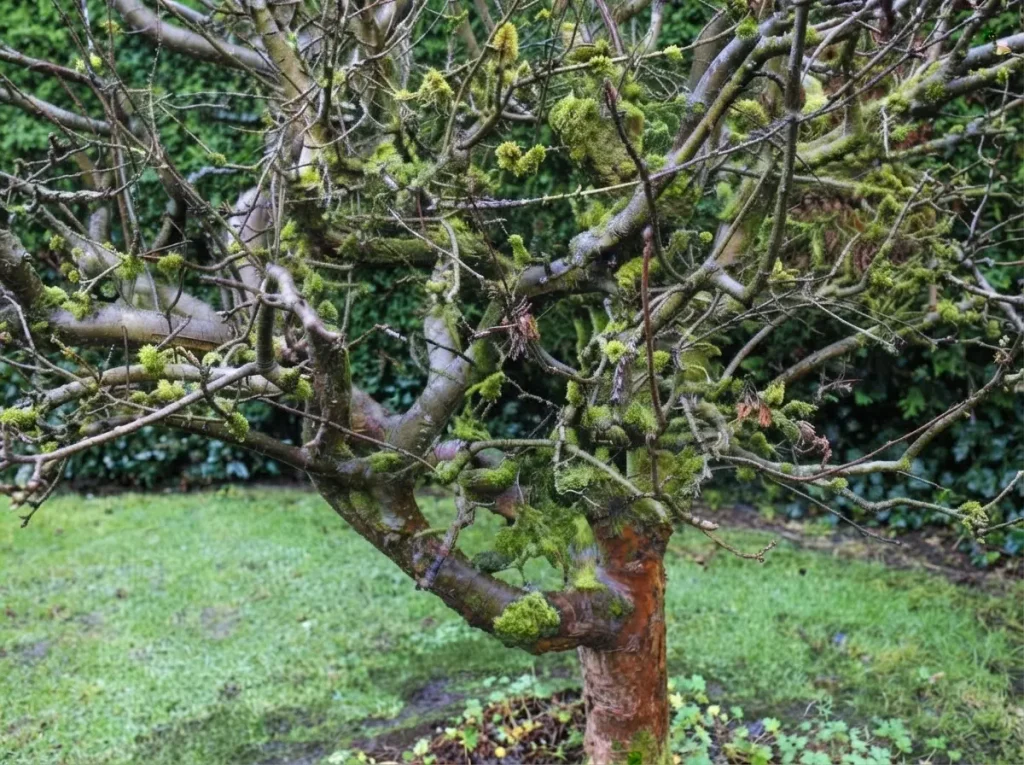
Skipping even a few years of pruning leads to crossed and crowded branches, dense canopy growth that traps humidity, and an explosion of water sprouts competing for energy. Consequently, fruit spurs get shaded out and stop producing. The tree may shift to biennial bearing, producing heavily one year and almost nothing the next.
Renovation pruning on a neglected tree is possible, but it requires a multi-year approach. In contrast, annual maintenance pruning takes far less time and keeps the tree in a manageable, productive state year after year.
The Best Time To Prune Apple Trees
Timing is the foundation of good pruning practice. University of Minnesota Extension confirms that fruit trees should be pruned every year in late winter or early spring, after the coldest weather has passed and before growth begins. At this point, the tree is still dormant, cuts heal quickly, and there are far fewer active disease spores in the environment.
However, growers in colder zones face a specific timing challenge. In USDA Zones 3 and 4, the safe pruning window may not open until late March or early April. In Zones 6 and 7, late February is often acceptable. Therefore, watch for daytime temperatures consistently above freezing as your signal to begin.
Dormant Season Window by USDA Zone
In Zones 3–4, target late March through early April, once hard freezes are behind you. In Zones 5–6, late February through March works well in most years. In Zones 7 and warmer, January or February pruning is common. The key rule is to finish before bud break — once leaves begin pushing, disease organisms become more active in open wounds.
Summer Pruning: What It Is and When To Use It
Light summer pruning — removing water sprouts and a few crossing branches — is acceptable from midsummer onward in most regions. However, extension guidance consistently warns against heavy pruning in late spring and early summer, when fungal spores are most active and wound infection risk is highest. Summer pruning should be minimal and targeted, not structural.
Tools You Need Before You Prune
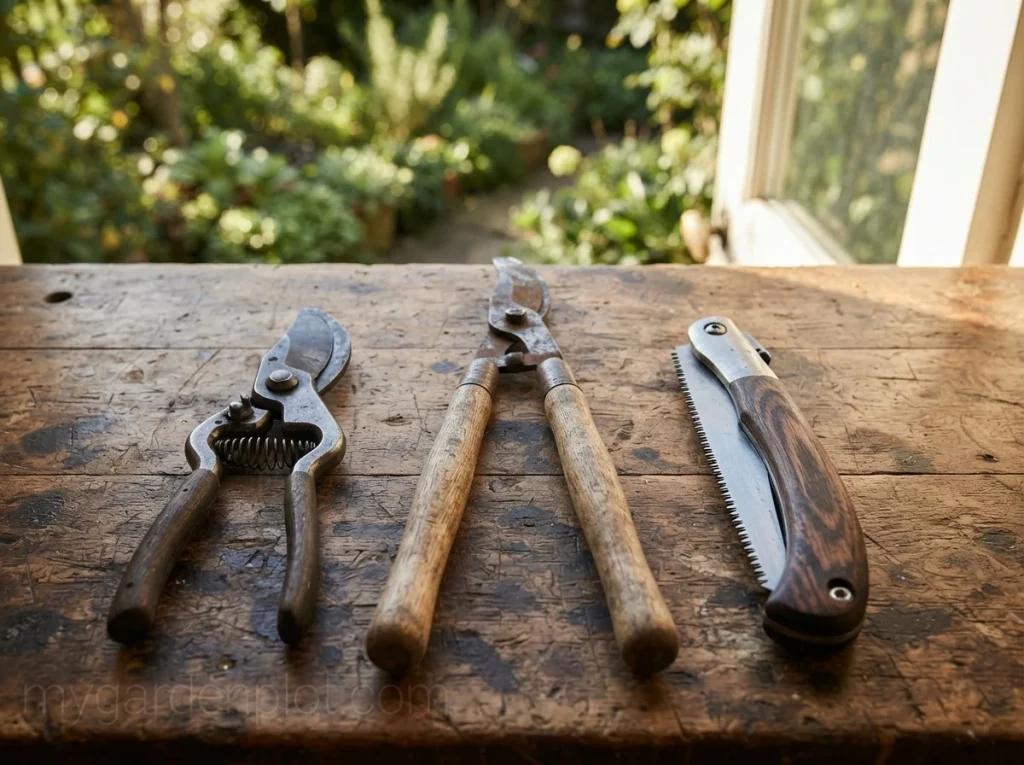
Using the correct tools produces clean cuts that heal faster and cause less bark damage. For small branches under one inch in diameter, hand pruning shears work well. For branches up to two inches, loppers give you the leverage you need. For larger scaffold limbs, a sharp pruning saw is the right choice.
Tool sanitation is non-negotiable, especially on trees with a history of fire blight or canker. Before you begin, and between each tree you prune, wipe blades with 70% isopropyl rubbing alcohol or a 10% bleach solution. This step prevents transferring disease pathogens from infected wood to healthy tissue.
How To Prune Apple Trees: 7 Proven Steps
The following sequence reflects the approach recommended by university cooperative extension programs across the United States. Work through these steps to maximize results and minimize the risk of over-pruning or missing key problem areas.
Step 1: Assess the Tree Before Making Any Cut
Stand back 10 to 15 feet and study the entire tree. Identify any branches that are obviously dead, crossing, or growing straight up. This initial assessment prevents reactive pruning and helps you prioritize what actually needs to come off. It is easy to cut too much once you start — stepping back first keeps the work in perspective.
Step 2: Remove Dead, Diseased, and Damaged Wood First
Always remove dead, diseased, or broken branches first. These cuts do not count toward the one-third removal limit and should be made regardless of any other pruning you plan to do. Cut back to healthy wood, just outside the branch collar. If you see staining or discoloration inside the cut, you have not gone back far enough — continue until the cut surface shows clean, white or green wood.
For any cuts made on disease-affected wood, sanitize your blades immediately before moving to the next branch. This step protects the rest of the tree from cross-contamination.
Step 3: Eliminate Water Sprouts and Suckers
Water sprouts are vigorous, upright shoots that emerge from scaffold branches or the trunk. They consume energy, shade fruiting wood, and produce little or no fruit. Remove them cleanly at their point of attachment. Similarly, suckers growing from the root zone or base of the trunk compete directly with the tree and should always be removed.
Step 4: Remove Crossing and Competing Branches
Branches that cross each other create friction wounds over time and eventually provide entry points for disease. When two branches compete for the same space, keep the one with the better angle (roughly 60 degrees from the trunk) and remove the other completely at the collar. Avoid leaving stubs, as stubs do not heal cleanly and become disease entry points.
Step 5: Open the Canopy to Light
Your goal is a canopy open enough that sunlight reaches every fruiting spur. Extension educators often describe the target density as being able to throw a softball through the tree. Use thinning cuts — removing entire branches at the collar — rather than heading cuts (cutting a branch partway back) wherever possible. Thinning cuts produce less regrowth and maintain the natural branch architecture.
Step 6: Shape for Your Training System
The two most common training systems for home orchards are the central leader and the open center. The central leader system, recommended by the University of Minnesota Extension, maintains one dominant upright stem with scaffold branches radiating outward in a conical, pyramid shape. This system suits most dwarf and semi-dwarf rootstocks. The open center system removes the central leader and creates a vase shape, which is more common in older orchard traditions and can make harvesting easier on larger trees.
For beginners on dwarf or semi-dwarf trees, the central leader system is easier to maintain and produces excellent light distribution with less complex annual decision-making.
Step 7: Sanitize Tools Between Trees
Even if your trees appear healthy, re-sanitize blades before moving from one tree to the next. Disease pathogens can be present in wood that shows no visible symptoms. This final step is simple, fast, and one of the most overlooked aspects of good pruning practice.
Young Tree vs Established Tree: What Changes
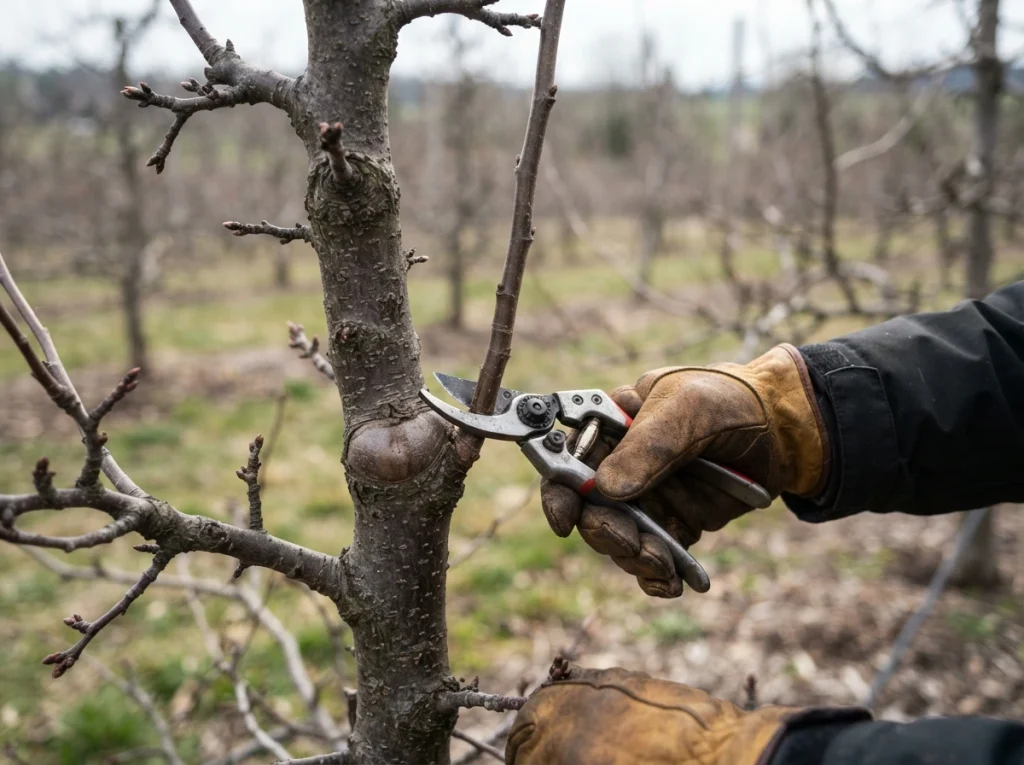
Young trees, typically in their first three years, need training more than heavy pruning. The goal is to establish strong scaffold branches with wide crotch angles before encouraging heavy cropping. University of Minnesota Extension notes that scaffold branches should be spaced about 12 inches apart vertically to give each one room and light.
Excessive pruning on young trees delays fruit production and stimulates excessive leafy growth at the expense of fruiting wood. In contrast, established trees need more structural pruning each year to prevent overcrowding and renew aging fruiting spurs.
Thinning Cuts vs Heading Cuts: A Comparison
| Cut Type | What It Removes | Result | When To Use |
|---|---|---|---|
| Thinning Cut | Entire branch at the collar | Opens canopy, minimal regrowth | Most pruning situations — preferred for apple trees |
| Heading Cut | Part of a branch, back to a bud | Stimulates dense regrowth below the cut | Height reduction on mature trees, shaping young leaders |
“Thinning cuts remove entire branches at the branch collar and are usually the recommended type of cut. Heading cuts remove only part of a branch and encourage vegetation growth below the cut and are not as common.” — University of Minnesota Extension, Pruning and Training Apple Trees
5 Common Pruning Mistakes To Avoid
- Removing more than one-third of the tree in one season. Severe pruning stimulates a flood of water sprouts and delays fruit production. Spread heavy renovation over two to three years.
- Pruning at the wrong time. Pruning in late spring and early summer exposes fresh wounds to active disease spores. Stay within the dormant window for structural work.
- Leaving stubs. Stubs do not heal and become entry points for canker and other wood diseases. Always cut cleanly to the branch collar.
- Skipping tool sanitation. A single unsanitized cut on a fire blight-affected branch can spread the pathogen to a healthy tree. Wipe blades with 70% isopropyl alcohol between cuts on diseased wood.
- Using wound paint or pruning sealant. Research from university extension programs consistently shows that wound sealants do not speed healing and can trap moisture. Leave cuts open to dry and heal naturally.
FAQ’s
When is the best time to prune apple trees?
The best time to prune apple trees is late winter or early spring, after the coldest part of the season has passed and before new growth begins. In most of the US, this falls between late February and early April, depending on your USDA hardiness zone. Avoid pruning during active leaf push, as wound infection risk is highest at that point.
How much can I prune from an apple tree at one time?
Extension guidance consistently limits single-season pruning to no more than one-third of the tree’s total wood. For overgrown or neglected trees, the renovation should be spread across two to three seasons rather than completed in one year. Removing too much at once triggers aggressive water sprout production and can significantly delay fruiting.
Do I need to seal or paint pruning cuts on apple trees?
No. University extension research does not support the use of wound paints or pruning sealants on apple trees. These products can trap moisture and delay natural callus formation. The best practice is to make clean cuts and leave them open to heal on their own.
Related Articles
- Complete Guide to Apple Tree Pruning
- When To Prune Apple Trees: Timing by Season and Zone
- Best Apple Tree Pruning Tools for Home Orchardists
- Apple Tree Not Fruiting After Pruning: Causes and Fixes
Sources
- University of Minnesota Extension — Pruning and Training Apple Trees
- Oregon State University Extension — Apple Trees Benefit from Proper Pruning
Disclaimer: This article provides general pruning guidance based on university extension research. Pruning requirements vary by variety, rootstock, tree age, and regional climate. When in doubt, consult a certified arborist or your local cooperative extension service.