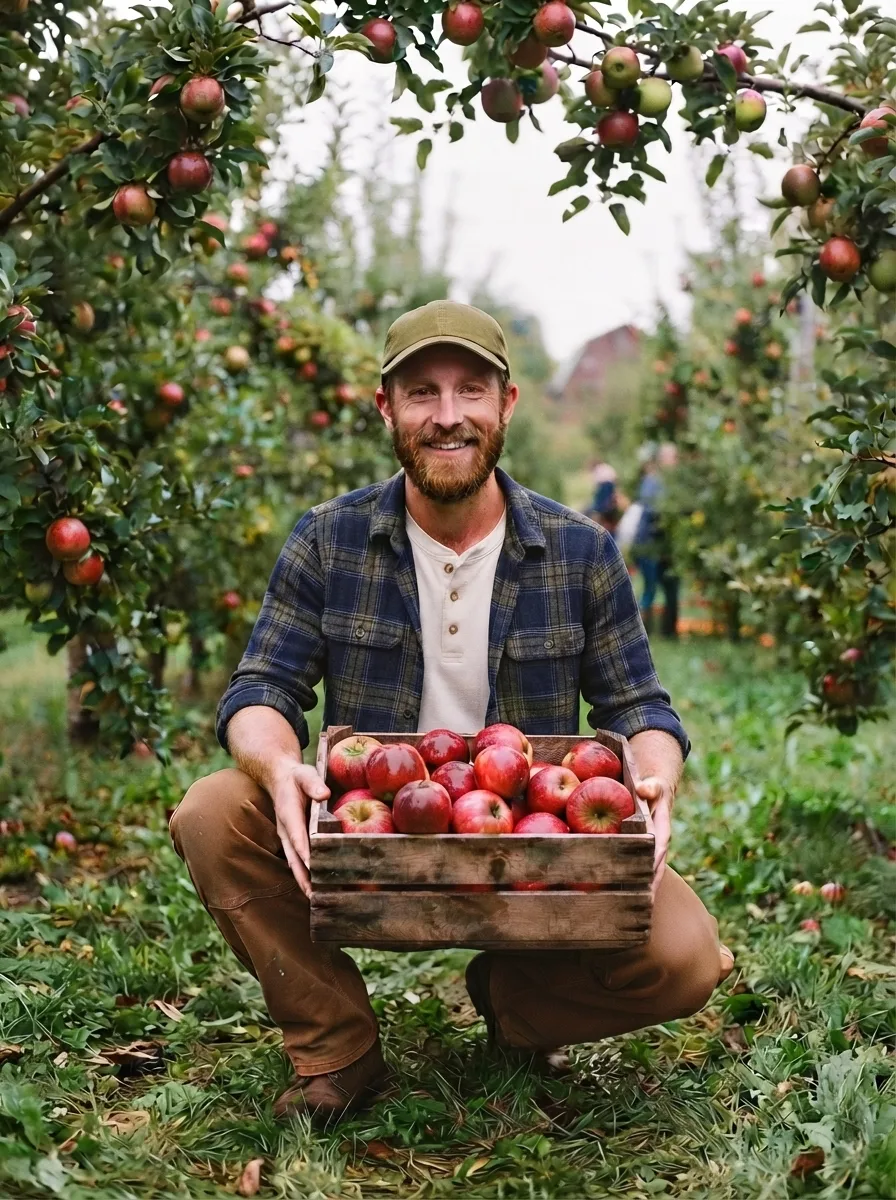
Apple Tree Pruning: 7 Proven Steps to Bigger Yields
Apple tree pruning is one of the most important annual practices for home orchardists who want healthy growth and more consistent, high-quality fruit. Done correctly during the appropriate dormant-season window, it improves light penetration, removes damaged or diseased wood, builds a strong branch structure, helps control tree size, and supports productive fruiting wood. The results depend on the tree’s variety, rootstock, age, health, climate, and existing structure.
Table of Contents
Key Takeaways
- Apple tree pruning should be done annually, primarily during the dormant season in late winter or early spring, before buds break.
- Never remove more than 25–30% of the canopy in a single season to avoid triggering excessive water sprout growth.
- Two main pruning systems — central leader and open center — suit different tree sizes and management goals for home growers.
- Summer pruning is a secondary, light-touch practice for removing water sprouts and improving fruit color, not a replacement for dormant pruning.
- Young trees (years 1–3) need training-focused pruning; established trees need maintenance pruning to renew fruiting wood and control canopy size.
Why Apple Tree Pruning Matters Every Single Season
Apple tree pruning is not optional maintenance. According to the University of Minnesota Extension, apple trees require regular pruning to stay productive, and without it, they develop dense canopies that restrict light, reduce fruit size, and invite fungal disease. However, the benefits extend well beyond tidying up a tree’s appearance.
Unpruned apple trees tend toward biennial bearing, a cycle in which a heavy crop one year is followed by little or almost no fruit the next. Consistent pruning helps break this cycle by encouraging steady, balanced growth each season. Additionally, opening up the canopy allows better air circulation, which university extension research consistently links to lower rates of apple scab and powdery mildew in home orchards.
For home growers, the payoff is straightforward: properly pruned trees are easier to spray, easier to harvest, and produce fruit you can actually see and reach. As a result, apple tree pruning is the foundational practice that supports every other aspect of tree care, from pest management to fertilizing schedules.
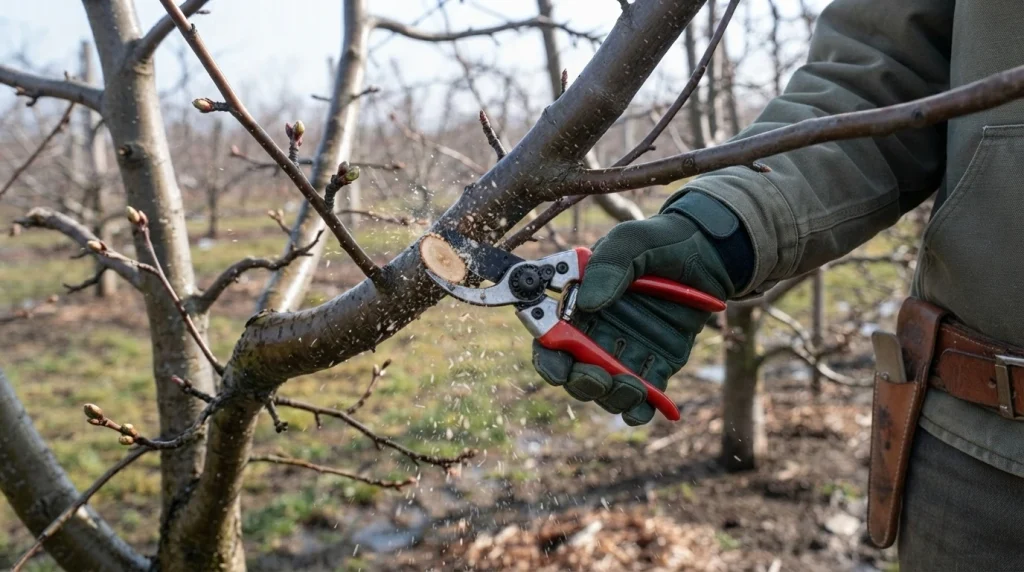
When to Prune Apple Trees: A Season-by-Season Timeline
Knowing when to prune apple trees is just as critical as knowing how. Pruning at the wrong time does not necessarily kill a tree, but it can reduce fruiting, stress the tree, and in some climates, open wounds to disease pressure at the worst possible moment. Therefore, understanding the seasonal window for each type of cut is an essential first step.
The primary apple tree pruning window runs from late winter through early spring, once the coldest temperatures have passed but before bud swell begins. In most temperate USDA zones, this falls between late February and early April, though growers in colder Zone 3 and 4 regions may not begin until mid-March. The University of Minnesota Extension recommends completing dormant pruning before growth begins in March for established trees in colder climates.
Winter and Early Spring: The Primary Apple Tree Pruning Window
Dormant-season apple tree pruning offers three key advantages. First, the absence of foliage gives a clear view of the branch structure, making it far easier to identify crossing limbs, dead wood, and poorly angled scaffold branches. Second, pruning wounds callus over quickly once spring growth begins, limiting exposure to pathogens. Third, the tree’s energy reserves have not yet been redirected into new shoots, so the pruning cut signals the tree to push growth where you want it.
Utah State University Extension research confirms that the conical or “Christmas tree” shape, narrow at the top and wider at the base, is the most effective training form for home apple trees. This shape ensures that lower branches receive adequate sunlight, which directly supports fruit bud development. Consequently, the dormant season is the time to make structural cuts that reinforce this form year after year.
Summer Pruning for Apple Trees: Light Maintenance Only
Secondary apple tree pruning in summer is limited in scope and purpose. Its primary goals are removing water sprouts (the fast-growing, vertical shoots that emerge from scaffold branches), eliminating any diseased or broken wood that appeared after the dormant prune, and improving light penetration to improve fruit color and sugar development in late summer. However, heavy summer pruning stimulates vigorous regrowth without the energy reserves to support it properly, so it should never substitute for the main dormant pruning session.
Fall pruning is generally not recommended. Cuts made in autumn heal more slowly, and in wet climates, open wounds created late in the season are more susceptible to fungal infection. Additionally, late-season cuts can encourage new growth that has insufficient time to harden before winter, increasing the risk of frost damage.
The 7 Essential Apple Tree Pruning Steps
Learning how to prune apple trees effectively comes down to following a repeatable sequence each dormant season. The steps below apply to both young trees in training and established fruiting trees, though the emphasis shifts depending on tree age and structure.
- Remove all dead, diseased, and broken wood first. This material does not count toward the 30% removal limit recommended by extension services. Dead branches are entry points for fungal pathogens and insects, so they are the priority regardless of how much else needs cutting. Sanitize pruning tools between cuts when fire blight is present in your area.
- Cut out root suckers and trunk suckers. These vigorous shoots emerging from the base of the trunk or from rootstock below the graft union draw energy away from the fruiting canopy. Remove them entirely at their point of origin. Do not leave stubs.
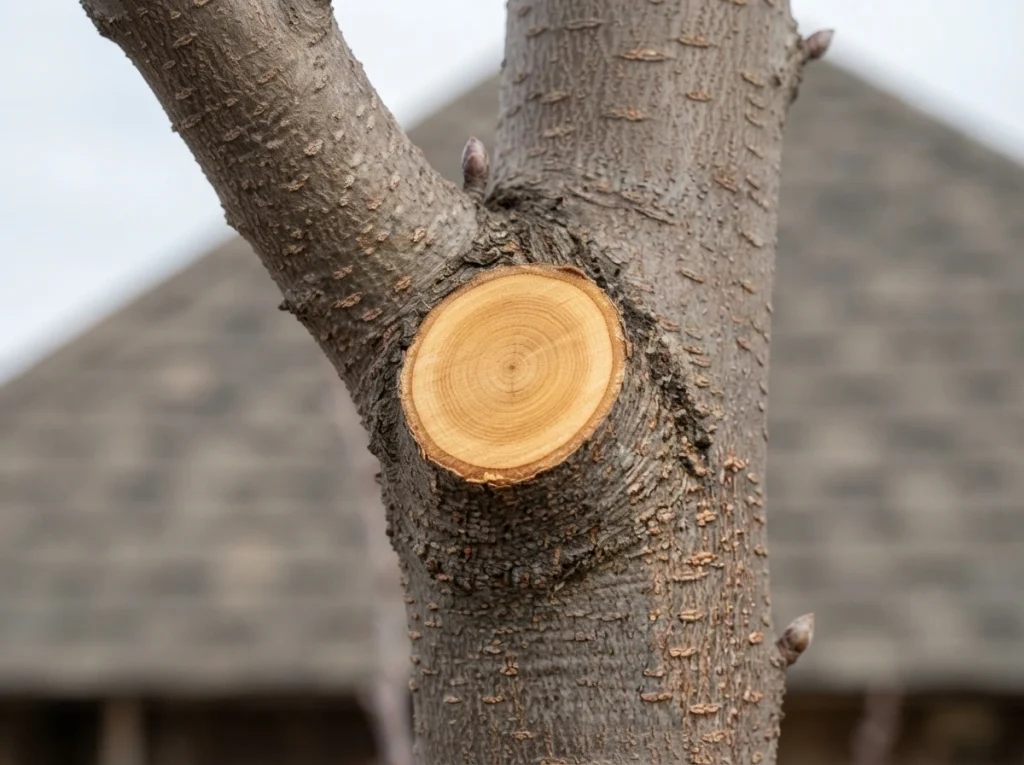
- Eliminate crossing and rubbing branches. Where two branches contact each other, bark wounds develop and create infection sites. Identify the branch with the better angle and greater fruiting potential, then remove the competing branch at its collar. The branch collar, the slightly raised ring of tissue at the base of a branch, must always be preserved. Cutting flush with or into the collar significantly slows wound healing.
- Remove water sprouts. Water sprouts are the upright, fast-growing shoots that form on the interior of the canopy or on the upper surface of scaffold branches. They rarely fruit and block light from reaching lower, more productive wood. Remove them at their base during dormant pruning, or rub them off early in summer before they lignify.
- Select and maintain scaffold branches. For most home apple trees, six to eight well-spaced scaffold branches provide sufficient structural support and canopy coverage. These branches should emerge from the trunk at wide angles (45–60 degrees from vertical), which supports heavier fruit loads and promotes flowering. Narrow-angle branches are more likely to split under fruit weight and should be removed or retrained using spreaders when still young and flexible.
- Manage the leader for height control. In central leader systems, the dominant upright shoot at the top of the tree (the leader) is maintained but controlled. Utah State University Extension recommends training the tree into a conical shape by cutting back branches in the upper two-thirds to lateral shoots that extend below the cut point. For home orchards, keeping trees at 8–12 feet facilitates harvesting without ladders and simplifies spray applications.
- Step back and review the 30% rule before finishing. Once major cuts are made, pause and estimate the proportion of canopy removed. Extension guidance consistently recommends removing no more than 25–30% of the canopy in a single season. Exceeding this threshold triggers a stress response, causing the tree to generate large quantities of water sprouts the following season. If more work is needed on a severely overgrown tree, plan to complete the renovation across two to three seasons.
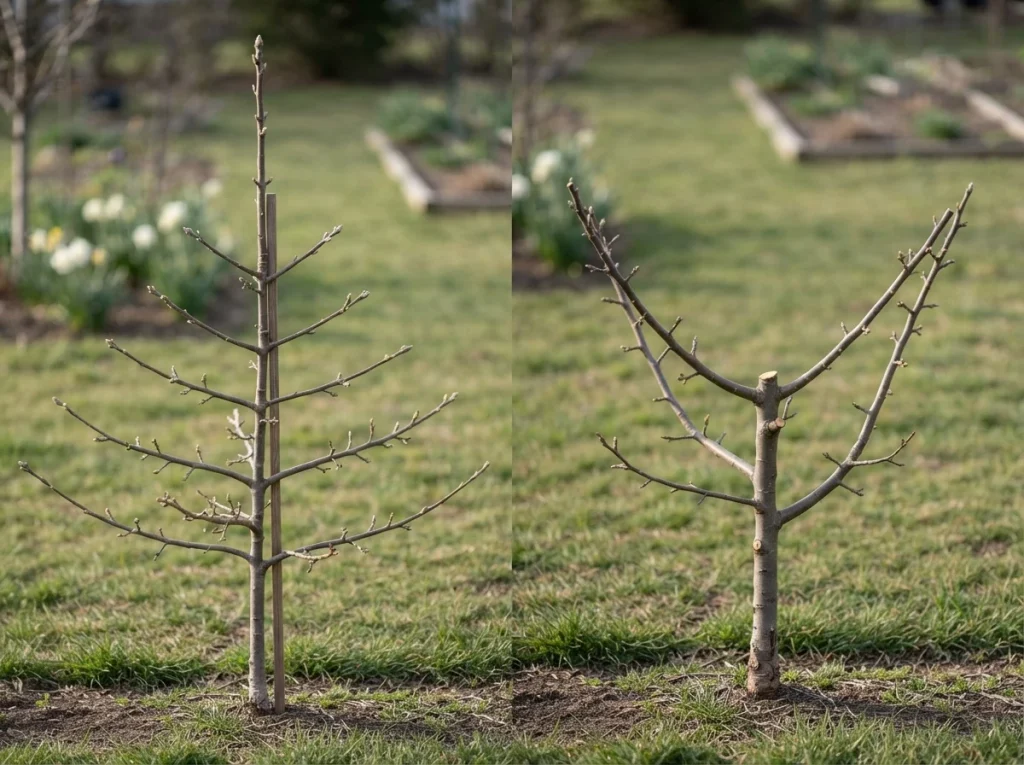
Two Pruning Methods: Central Leader vs Open Center Apple Tree Pruning
The two primary training systems for home apple trees produce different canopy shapes, management challenges, and fruit production patterns. Understanding the difference helps home growers choose the approach that fits their space, rootstock, and management capacity before making structural cuts that will define the tree for years.
| Feature | Central Leader | Open Center |
|---|---|---|
| Tree shape | Conical / Christmas tree | Vase/bowl shaped |
| Best for | Most apple varieties; semi-dwarf and standard rootstocks | Space-limited gardens; dwarf rootstocks |
| Light penetration | Excellent when maintained in conical form | Excellent through open center |
| Height control | Requires annual leader management | Naturally limits height |
| Structural strength | Strong central trunk supports heavy crops | Scaffold branches carry more of the fruit load |
| Pruning complexity | Moderate — consistent annual attention needed | Lower — more forgiving for beginners |
| Years to establish | 3–5 years of active training | 2–3 years of active training |
“The objectives of tree training are to develop a structure that will support the weight of the fruit, create a balance between vegetative growth and fruit growth, and prevent the top of the tree from shading the bottom.” — Utah State University Extension, Training and Pruning Apple Trees
For a detailed walkthrough of the open center method, see our complete guide on open center apple tree pruning. Growers interested in wall-trained or space-saving designs should also explore our guide to growing an espalier apple tree, which applies modified pruning rules to horizontal trellis training systems.
Apple Tree Pruning Tools You Actually Need
Effective apple tree pruning requires only three core tools for most home orchardists. Hand pruners (bypass style, not anvil) handle branches up to three-quarters of an inch in diameter and are the most frequently used tool for removing water sprouts, small laterals, and twiggy growth. Loppers extend your reach and cutting leverage for branches up to two inches in diameter. A pruning saw handles larger scaffold limbs cleanly and safely, cutting on the pull stroke to reduce hand fatigue.
For a complete comparison of models, blade types, and disinfection protocols for disease-prone orchards, see our detailed review of apple tree pruning tools. Sharp tools make cleaner cuts, and clean cuts heal significantly faster than ragged wounds, so blade maintenance is not a minor detail.
Pruning by Tree Age: Young Trees vs Established Trees
Apple tree pruning goals change significantly as a tree matures. In the first one to three years after planting, the priority is training, not fruiting. Young trees need their leader established, three to four scaffold branches selected at wide angles, and all competing shoots removed. University of Minnesota Extension research recommends pruning young trees minimally, because excessive removal delays fruiting and stimulates unproductive leafy growth.
From year four onward, the focus shifts to maintaining the structure established in early training while renewing fruiting wood. Older wood that has moved well above reach or into the shaded interior of the canopy loses fruiting efficiency and should be gradually replaced by lower, better-positioned laterals. For winter dormant pruning in cold climates, the same seasonal guidance applies: complete cuts before bud swell to maximize healing time in the spring growing window. Our complete guide on apple tree pruning in winter covers dormant-season technique in detail for established trees.
Common Apple Tree Pruning Mistakes (and How to Avoid Them)
Over-pruning in a single season is the mistake most likely to frustrate home growers. Removing more than 30% of the canopy at once triggers a wave of water sprout regrowth, producing dense, unproductive shoots that make the next season’s pruning more difficult. Additionally, cutting into or removing the branch collar delays wound closure and increases infection risk. Always make cuts just outside the collar, not flush with the trunk.
Topping (removing the terminal leader without a redirect cut to a lateral) creates multiple competing leaders, weakens the branch attachment at the top of the tree, and produces excessive upright regrowth. Similarly, leaving stubs instead of making cuts at the collar leaves dead wood that decays inward and provides a pathway for pathogens. If your apple tree has stopped producing fruit after a recent heavy pruning, see our troubleshooting guide on apple tree not fruiting after pruning for a systematic diagnosis.
FAQ’s
How often should I prune my apple tree?
Annual apple tree pruning is the standard recommendation from university extension services. Young trees in training need pruning every year to establish their scaffold structure. Mature, established trees benefit from annual dormant pruning to remove water sprouts, renew fruiting wood, and control canopy size. However, if a tree is in good structural health with minimal water sprout growth, a light maintenance prune every other year is workable for home growers with limited time.
How much of an apple tree can I prune in one year?
Extension guidance consistently recommends a maximum removal of 25–30% of the total canopy in any single season. Exceeding this threshold stresses the tree and triggers excessive water sprout regrowth in the following season. For severely overgrown trees, plan a renovation over two to three seasons, removing the most problematic wood first and completing the structural work gradually.
Can I prune apple trees in summer?
Yes, apple tree pruning in summer is appropriate, but limited in scope. Summer pruning targets water sprouts, crossing shoots, and any diseased or broken wood that appeared after dormant pruning. It should not replace the primary dormant-season pruning session. Heavy summer cuts stimulate late-season growth that may not harden adequately before winter in colder climates.
Do I need to seal pruning cuts on apple trees?
Current extension guidance does not recommend wound sealants or pruning paints on standard apple tree pruning cuts. Healthy trees callus over clean cuts without assistance. However, for apple trees in areas with active fire blight pressure, sterilizing pruning tools between every cut with a diluted bleach solution or 70% isopropyl alcohol is strongly recommended to avoid spreading the bacterial pathogen from branch to branch.
Why does my apple tree produce lots of shoots but no fruit after pruning?
Excessive vegetative growth after apple tree pruning usually indicates one of two causes: over-pruning, which stimulates the tree to regenerate canopy aggressively, or the removal of too many fruiting spurs, which are the short, stubby growths on older wood where apple blossoms develop. Additionally, over-fertilization with nitrogen in the same season as heavy pruning amplifies this response. For a full diagnostic checklist, see our guide on apple tree not fruiting after pruning.
Related Articles
- When to Prune Apple Trees: Best Time by Season
- How to Prune Apple Trees: 7 Steps for Beginners
- Apple Tree Pruning in Winter: Dormant Season Guide
- Apple Tree Pruning in Summer: Steps and Benefits
- Open Center Apple Tree Pruning: Step-by-Step Guide
- Espalier Apple Tree: Shapes and How to Train One
- Apple Tree Pruning Tools: What You Actually Need
- Apple Tree Not Fruiting After Pruning: 5 Reasons Why
Sources
- University of Minnesota Extension — Pruning and Training Apple Trees
- Utah State University Extension — Training and Pruning Apple Trees
- Oregon State University Extension — Pest Management in Home Orchards
Disclaimer: This article provides general pruning guidance based on university extension research. Pruning requirements vary by variety, rootstock, tree age, and regional climate. When in doubt, consult a certified arborist or your local cooperative extension service.